I have a 3D printer. I've had one since November and I have been enjoying using it. It helps with building products by allowing me to build PoC prototypes. Before I get to that level, I wanted to get used to the process of printing, then designing and printing.
The printer I have is the Bambu labs A1 mini, unfortunately I did not know about the bambu labs controversies and further the license violations were unknown at the time as well. This means that for moral reasons I am reluctant to recommend any Bambu labs printers. However from a purely technical view point these printers are amazing and well designed.

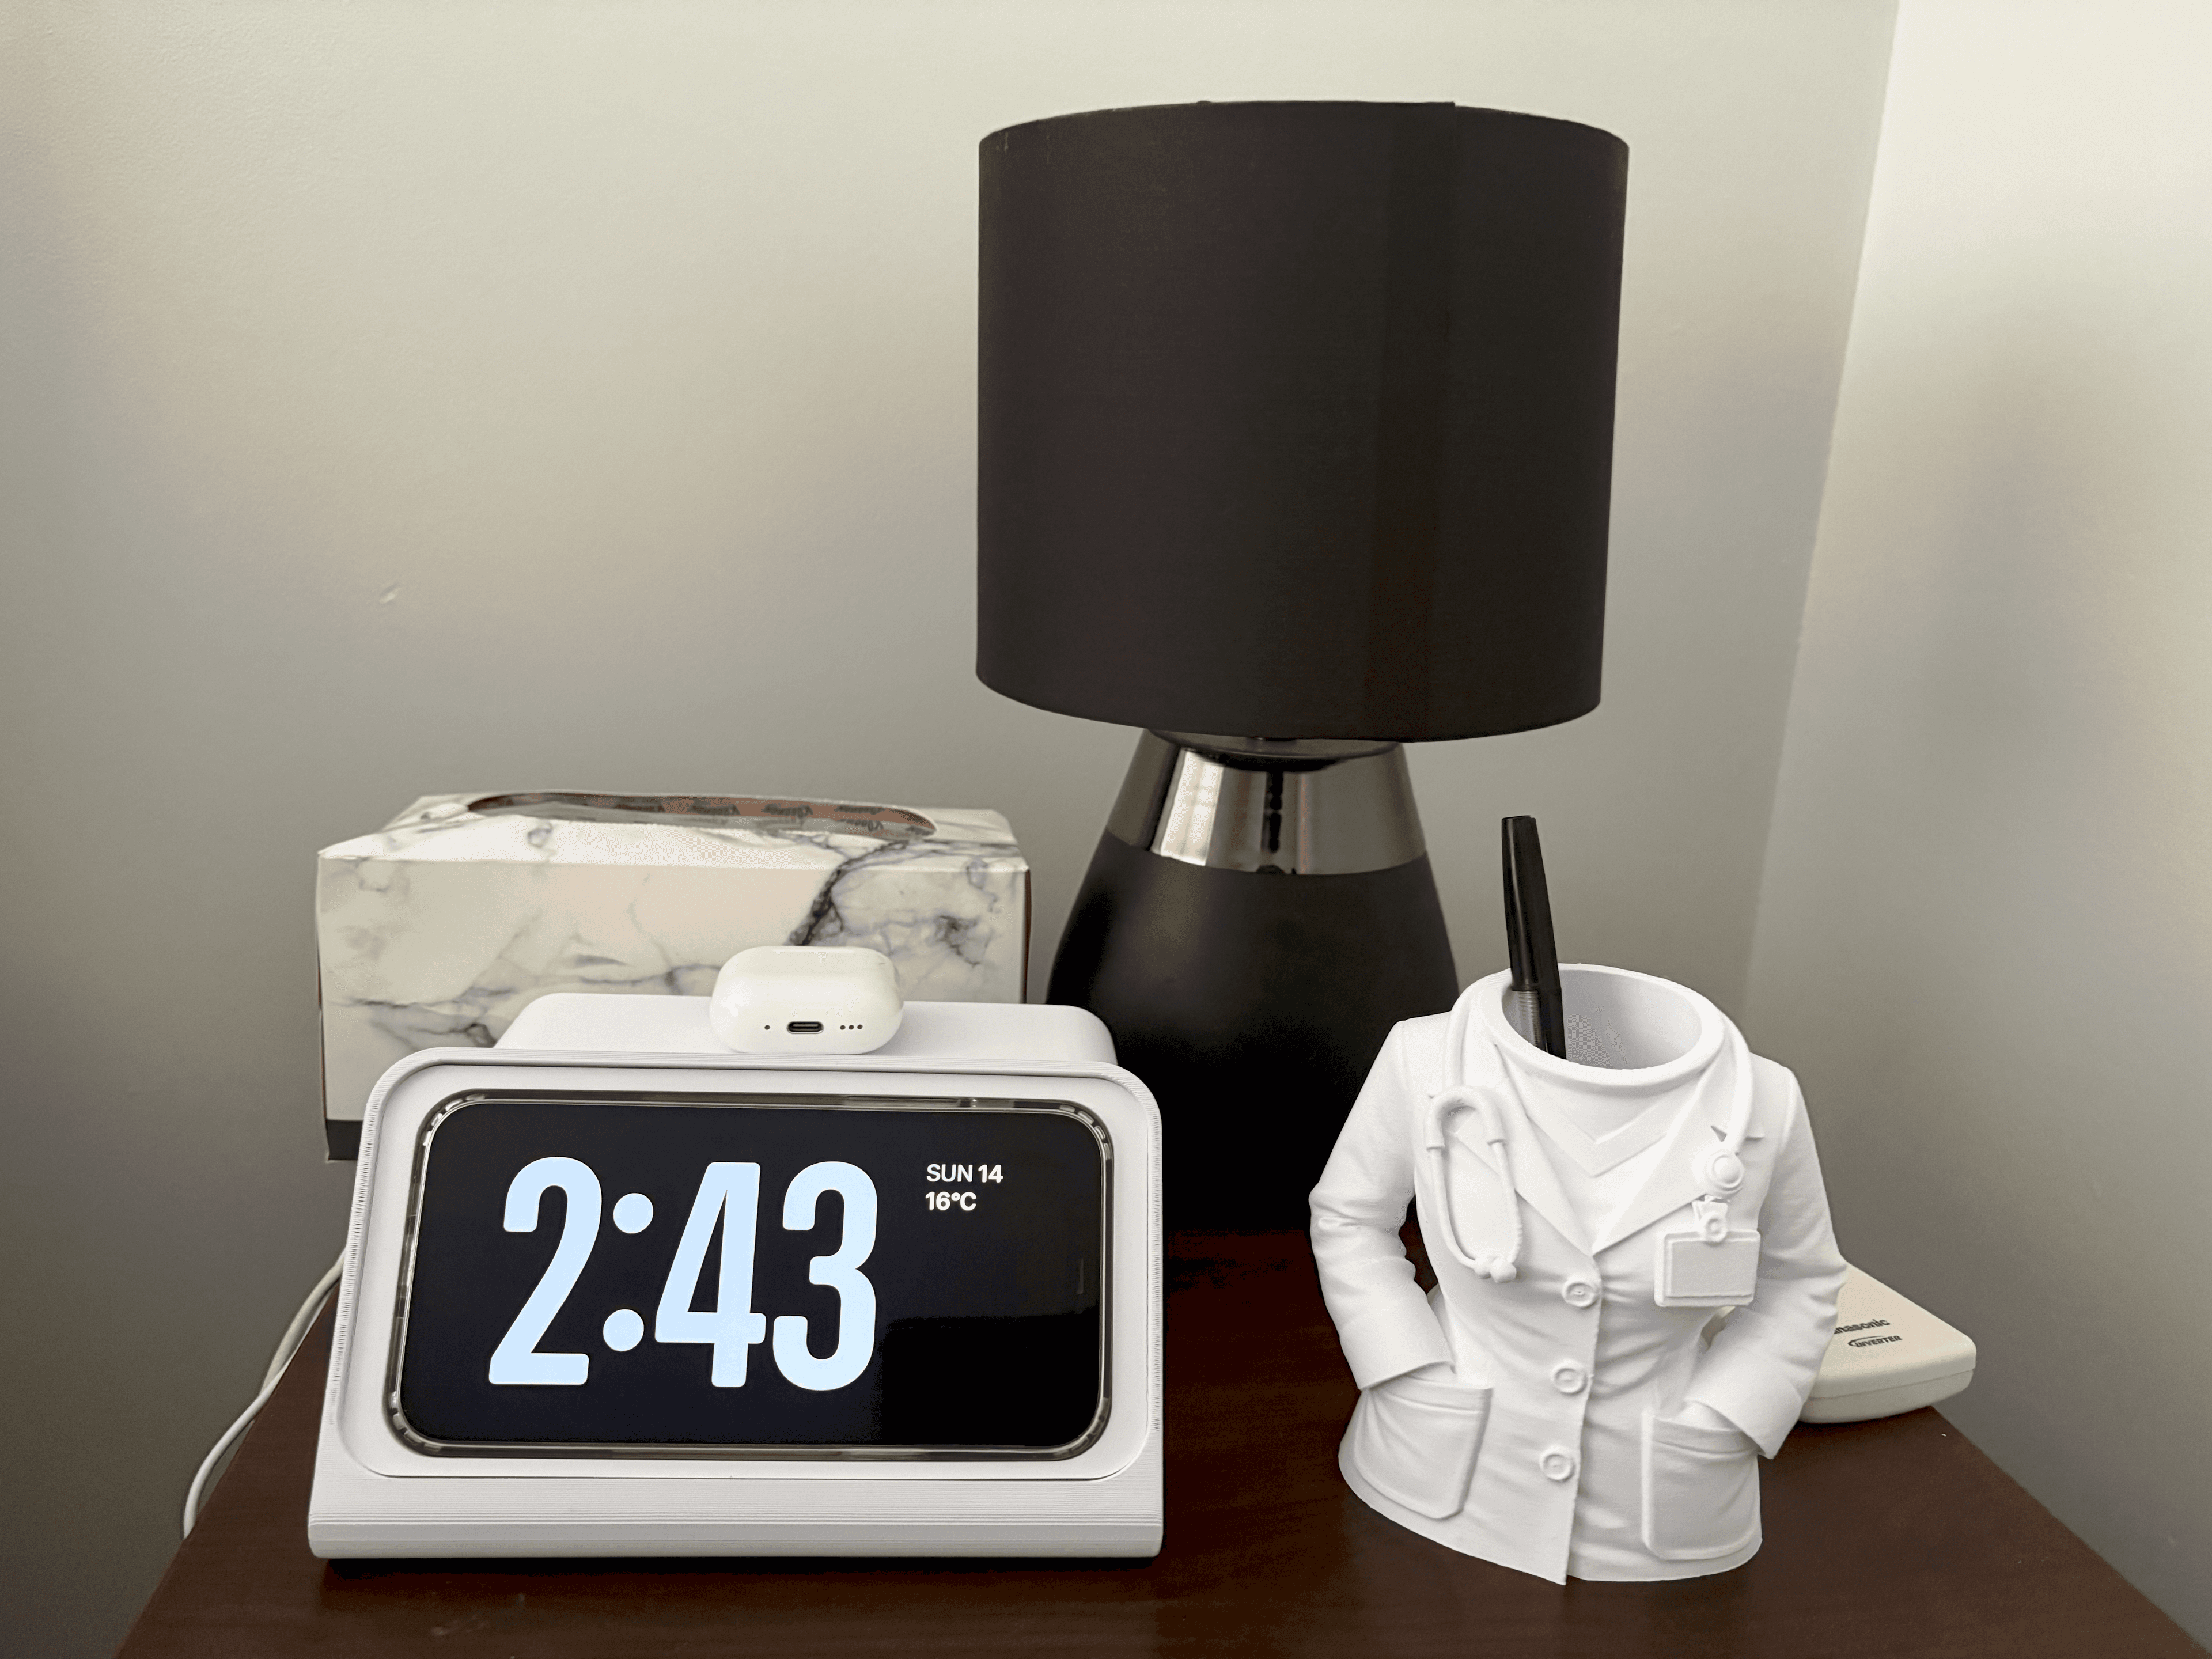
I've got the printing process down pat now. The example images in the pictures in the images are proof enough of that. You can find both at maker world. Links below:
These are just my latest prints, and as you can see both have turned out rather well in terms of matching the original designs. Beyond that I have printed multiple other designs, including the benchy and many others.
Designing Solutions
The keen eyed among you would have noticed that the print I've made of the iPhone dock has an insert. This was due to a mistake I made. I printed out a dock for the iPhone 12 pro max to iPhone 17 pro max. Unfortunately the naming scheme was not so clear as it said iPhone 12 -17 pro max. This meant I had to design something to make it work or throw out the print entirely. With how much filament I wasted on it that was not something I was willing to do.
So I wanted to centre an iPhone 12 with a case in the design. My first step was to draw out what I needed.

Its a rought sketch but with a caliper in hand I can get exact dimensions of the phone and the inside of the dock. By tracing the phone and the test fit print down, we can see exactly what we need to do. Now the biggest challenge is to the get the radius calculations right. If we don't get the inside and outside curves correct either the insert will not fit or the iPhone will not fit.
I did some calculations and found that the curve had a radius of 12mm. However I wasn't confident it was correct because ChatGPT and Google quoted Apple forums in telling me the curves weren't simple circles but instead they were b-splines. Misinformation on the internet is rife, while they may technically be b-splines, they can be approximated by a circular arc with a radius of 12mm. To prove my hunch, I printed out a set of curves which allowed me to prove my hunch.

This gauge allows me to measure both interior and exterior curves.
Now the choice was which modelling software to use. Throughout my reports I like free and open source for everything and for that reason I chose FreeCAD. Its a bit of pain, but I was able to create multiple cubes with the edges being filleted with the curvature that was determined. Finally this need to printed out via bambu studio.

As you can see from the final image, it worked exceedingly well. Now this wasn't my first design. I've done many and the challenge isn't the printing or the designing, its using FreeCAD. The options are difficult to understand the way it all joins together is complex and it doesn't help when it crashes.
Designing a Logo Stamp
The previous design was relatively simple. Two cubes with filleted edges, and a boolean operation to cut the second cube from the first. I wanted to do something more complex. I wanted to build a complex 3D design from a 2D image. What better than my blog's logo?
The first step is to convert the png to an svg file. FreeCAD expects you to do this with inkscape, unfortunately inkscape only works with Windows, which is a bit difficult as I have only got a Mac on hand. To overcome this I just used a online SVG converter. Ensure that you only have a single colour and its solid. Then upload it into FreeCAD.
If you have a errors, don't waste time trying to fix them in FreeCAD, instead fix the SVG and retry the import.
Converting an SVG to Solid
You'd think the hardest part would be complete after having uploaded the SVG, however when you try to extrude ie turn into a 3D image you will run into issues. So follow the steps below to get it to a state that allows it to be extruded.
Once you have imported your SVG, open draft mode, and click on the modification drop down.
In the modification drop down select draft to sketch. This should make it extrudable.
Before this is extruded we need to mirror the svg as its a stamp. Then we can import into Bambu labs and print it out. As you can see I learned the hard way that we need to mirror this.

Why did I write this?
Primarily this is a record of my 3D printing journey and share what I've been up to. I also wanted to highlight that even with Frontier AI models, misinformation seems to reign and that is being spread faster by these models. Hopefully this helps combat some of that.