Mapping the Stars
A look at building an interactive map of the stars from anytime and any part of the globe.

Night Sky - AI Summary:
This article delves into the creation of personalized celestial maps using the D3-Celestial library, catering to the trend of commemorating special occasions with starry mementos. The author simplifies the process through client-side development and dynamic data input. Challenges and solutions, such as constellation name issues and browser compatibility, are discussed, and the project successfully delivers a functional and accurate star map.
Check it out at Night Sky
Introduction:
There is an enduring trend where you can get a printout of the night sky of your special occasion to keep as a memento or give away. It is a thoughtful and fun gift to give that makes a lot of sense, and for me I’ve always had a love of space, and astronomy. The problem is if you google for something like this, you will get a bunch of choices and all of them look pretty similar.
When I see something like this I start to wonder, is this as difficult as I think it might be? The answer was no, not at all. You can even do it all client side.
Building Night Sky:
The first thing I needed to do was to get all of the data. Five minutes on Google let me find an even better solution, which was d3-celestial. This was a better solution because it integrates data collection, processing, and display all in one. For those not in the know, D3.js is a well-known library used for visualizing data. What you can do with it is pretty epic. Many of the stunning visual graphics on the internet are generated by the creative use of D3.js.
D3-Celestial provides us with a Celestial map with all of the features that every other paid service has. Looking at the way certain sites work, I am 100% sure they use this library. The great thing about this library is there is almost no code to write all you have to do is modify a JSON configuration.
var config = {
    width: 0,           // Default width, 0 = full parent element width;
                       // height is determined by projection
    projection: "airy",    // Map projection used: see below
    projectionRatio: null,   // Optional override for default projection ratio
    transform: "equatorial", // Coordinate transformation: equatorial (default),
                             // ecliptic, galactic, supergalactic
    center: null,       // Initial center coordinates in set transform
                        // [longitude, latitude, orientation] all in degrees
                        // null = default center [0,0,0]
    orientationfixed: true,  // Keep orientation angle the same as center[2]
    geopos: null,       // optional initial geographic position [lat,lon] in degrees,
                        // overrides center
    ...
The library is optimized for use with npm, however, we can still use it directly, which is what I did. This is simpler and faster.
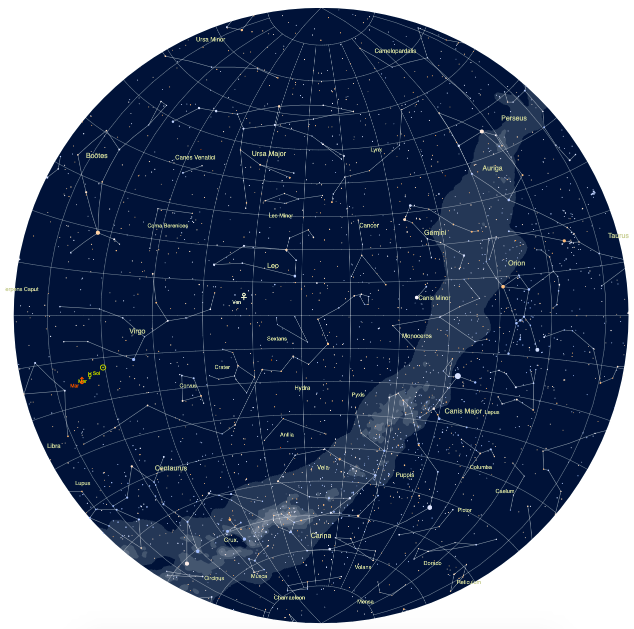
The only information we need to collect from the user is the latitude, longitude, and time at this location. We need this information as these three factors determine which direction you are facing. As the Earth spins, the stars and constellations move. Once we feed this data in, it generates a star chart with all of the info we require, including stars, constellations, deep space objects, the sun, moon and planets and their positions.
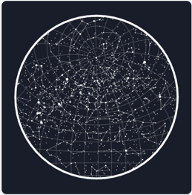
The json config also gives us the option to add in lines, modify projection type, change background colour and make a whole host of changes to make the image look pretty. This is what it looks like by default on my version.
Launching Night Sky:
The next step was to launch this. From what I could see some players in this space generate the maps server side while others do it client side or don’t display the map at all. Instead, they exist purely to sell a physical product. The applications use a major cloud provider like Google or run applications on Vercel which has a generous free tier. The way that I wrote Night Sky means that I can deploy my application as a static application. I could deploy it in an s3 bucket, on Github pages or even a cheap hosting provider.
I chose to do it via Cloudflare. I already owned a domain name through them and most importantly, it is free to host a static website via Cloudflare pages. The advantage over Github pages is that we can have many projects with their own domain names. I also wanted to understand Cloudflare’s feature set, so it was a double win for me.
Launching on Cloudflare was easy, all you had to do was link to your Github repository. Any updates to the repository are automatically collected and deployed by Cloudflare. Having only ever deployed webpages in the days of Wordpress, having an automated pipeline is amazing.
Night Sky Challenges
No writeup is complete without highlighting the challenges that have occurred. This was a relatively simple project and the D3-Celestial library is well built. However, there have been a couple of issues. The first was constellation names showing up as undefined, and the second was canvas size being too large on non-Chromium based browsers.
In the example config the constellation name set is set to “iau” however in the dataset there is no “iau” dataset. Instead, you have to use the “name” dataset. It caused a weird bug where on initial load with constellations enabled it would correctly load, however, any subsequent load would see constellation names load as undefined.
The non-Chromium browser issue was fixed by adding in a single line into the css.
canvas{
    max-width: 100% !important;
}
This bug affected Safari, Firefox and all iOS browsers which is a huge part of modern web traffic.
Conclusion
This was a simple project but it achieved what it set out to do, build a working, accurate star map. Check it out at Night Sky.